This tutorial demonstrates how to use Entity Framework (EF) Code First with Oracle Data Provider for .NET (ODP.NET). You will create .NET classes in Entity Framework, which will then create Oracle database tables and add data to those tables. Lastly, you will modify those classes using Code First Migrations and propagate the changes so that they are reflected in the database tables.
Time to Complete
Approximately 20 minutes.
Background
Microsoft Entity Framework abstracts the relational, logical database schema and presents a conceptual schema to the .NET application. It provides object-relational mapping for .NET developers. EF Code First allows developers to create .NET classes, which in turn can be persisted as database objects. Code First Migrations allows developers to evolve the code-based model so that changes are accurately reflected in the persistent database store.
Starting with Oracle Data Access Components (ODAC) 12c Release 3 (12.1.0.2.1), ODP.NET supports Code First and Code First Migrations from Entity Framework 6. ODP.NET provides the data access to store the EF model inside the Oracle Database and evolve the schema.
This tutorial will guide you in creating an EF application that generates "Employee" and "Department" classes, and then adds data to these class objects. When the application is run, these classes will be persisted as database tables with the data entered as rows. You will then modify the class by adding a new property. That property will then be added to the "Departments" table as a new column via Code First Migrations.
What Do You Need?
Before starting this tutorial, you should:
Install Microsoft Visual Studio 2015 or later with .NET Framework 4.5 or later.
Code First doesn't require Oracle Developer Tools for Visual Studio, which provide integration with Server Explorer and Visual Studio designers. This tutorial uses Server Explorer to browse the Oracle schema to view Code First database changes. To be able to do this, download and install Oracle Developer Tools for Visual Studio (12.1.0.2) or later from OTN.
This OBE will connect to an Oracle database with the HR schema, though any schema can be used as long as there are no naming conflicts.
Code First
In this section, you will create .NET "Employee" and "Department" classes and save data using these classes. When the application is executed, EF Code First will create database tables to represent these classes and store a row each time the application saves data to a class instance.
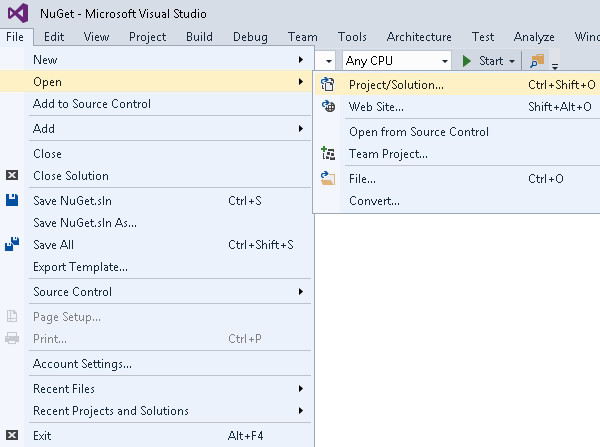
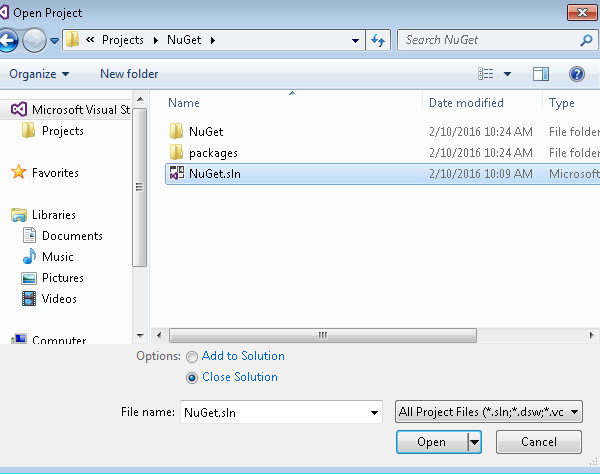
Open Visual Studio 2015. Open File > Open > Project/Solution.
Modify the User Id and Password under the <connectionStrings> section to connect to the HR schema. Typically, the HR schema credentials are: User Id=hr and Password=hr.
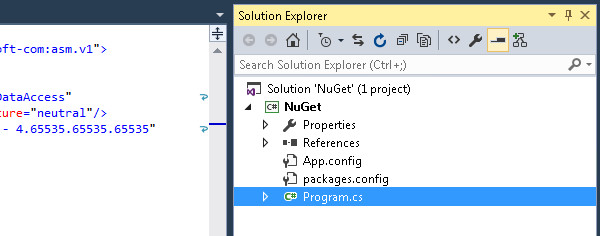
Modify the Data Source in the same section and the datasource alias and descriptor in the <dataSources> section for your local database. Note the name of the connection string, OracleDbContext. We will be using that name shortly in the Code First application.
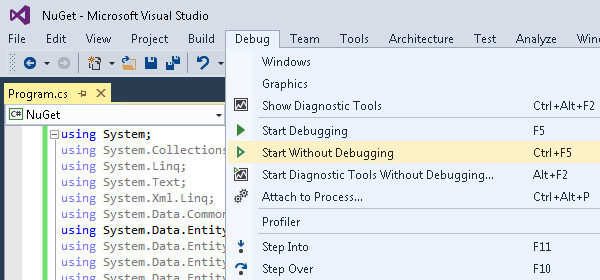
Review the class Program . The application first connects to an Oracle database using the OracleDbContext connection string that was configured in the App.config. It then creates an instance of the Employee and Department classes and adds data to them as seen in the screenshot below.
Description of this image
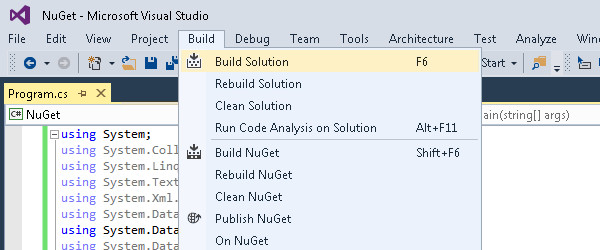
This will create the "Employees" and "Departments" tables in the database and add one row to each of them. Note that these table names are case-sensitive.
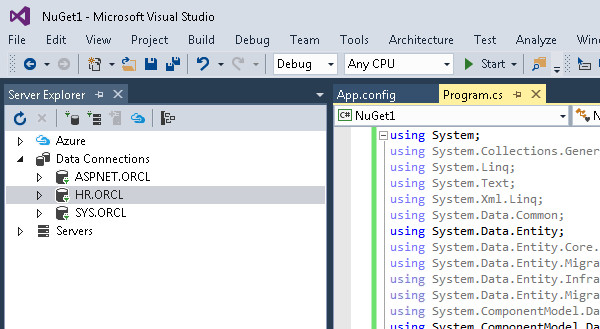
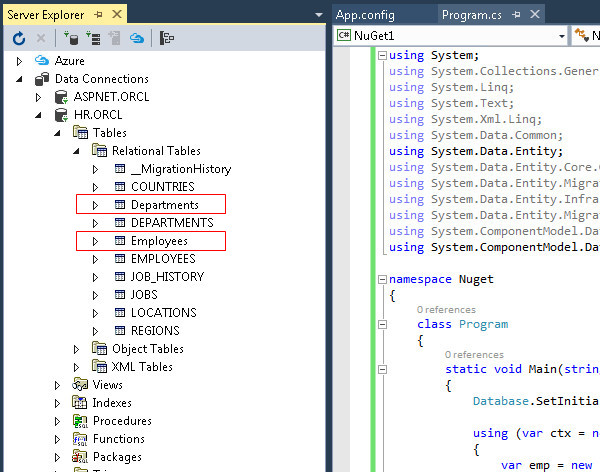
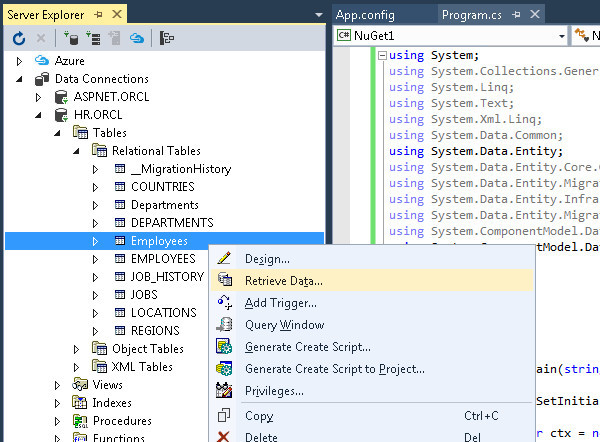
Let's verify these tables were created and the data was inserted. Go to Server Explorer and expand Data Connections.
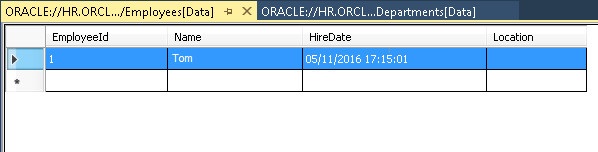
Verify that the Employee table reflects the structure and data that was inserted by the application.
Description of this imageNote: The Name field might not display completely. There is a known tools bug with data display and EF Code First if you are using ODAC 12c Release 4.
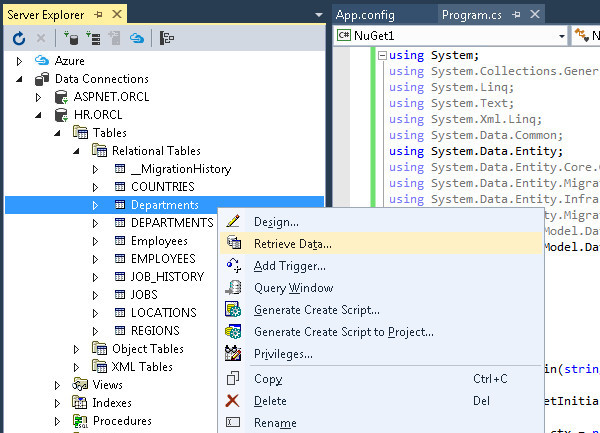
Right click Departments table and click Retrieve Data.
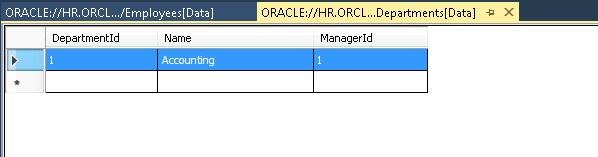
Verify that the Department table reflects the structure and data that was inserted by the application.
Description of this imageNote: The Name field might not display completely. There is a known tools bug with data display and EF Code First if you are using ODAC 12c Release 4.
Code First Migrations
Classes do not always stay static. They can change based on new business requirements and the database schema must change with the class definitions. We will now make a change to the "Employee" class to simulate this type of situation. With a few simple commands, the change will be propagated to the database to keep in sync with the application. This is called Code First Migrations.
When you executed the previous Code First application, you may have noticed that a third table, _MigrationHistory, was created. This table tracks changes to the Code First classes.
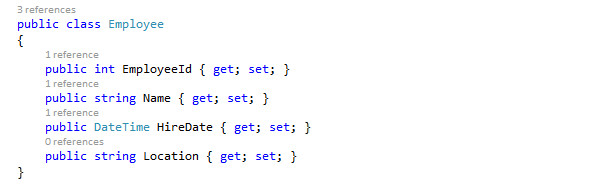
For this part of the OBE, you will add a new Location property to the "Employee" class and have this change reflected in your database. Perform the following steps:
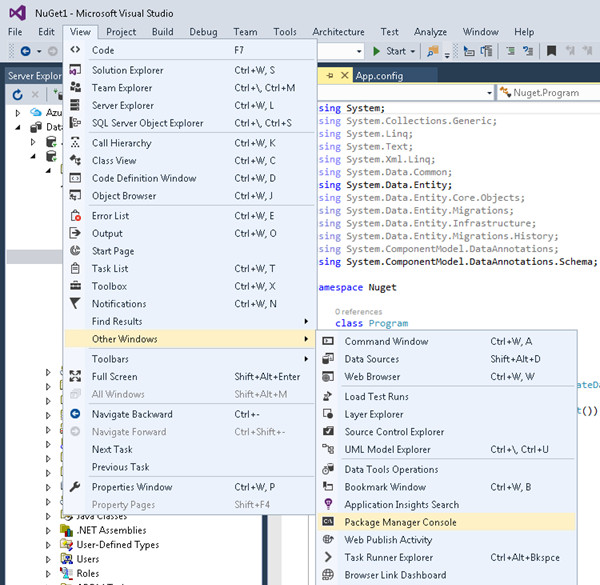
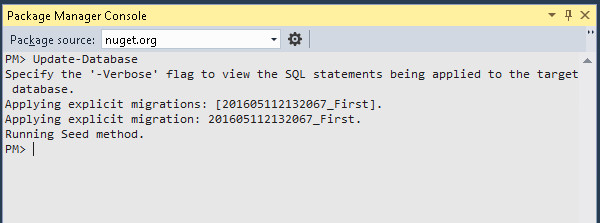
Select View > Other Windows > Package Manager Console. The Package Manager console opens. This console is where you enter in Code First Migrations commands to propagate .NET class changes to the database schema.
Verify that the Location column has been added to the Employee table.
Description of this imageNote: The Name field might not be displayed completely. There is a known tools bug with data display and EF Code First if you are using ODAC 12c Release 4.
You can reset the OBE by deleting the _MigrationHistory, Employees and Departments table.